How to Start a Little Free Library in Your Beck Neighborhood
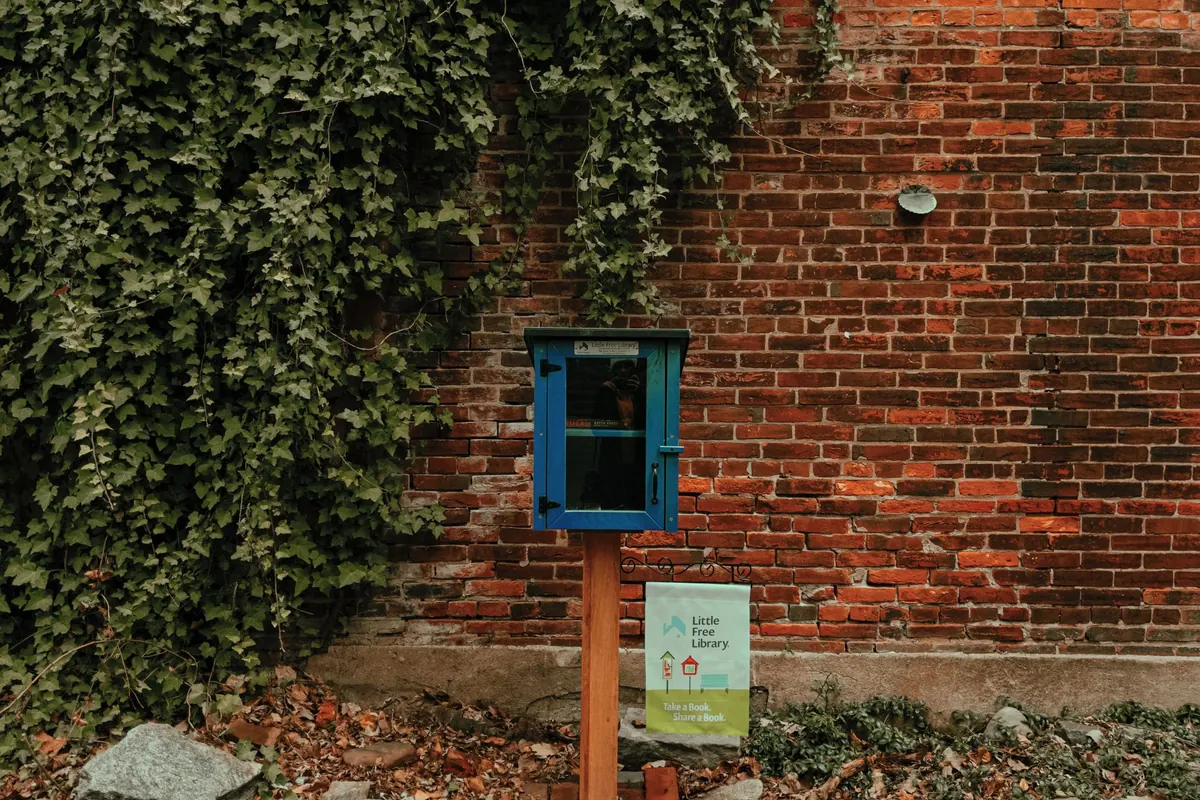
There is a stretch of sidewalk in your neighborhood where people already slow down — the corner by the school crossing, the bench in front of the laundromat, the fence where two dogs stop to sniff each other. That is where a little free library belongs. The project is small: a box on a post, a shelf of books, a sign that says take one. Most of it can come together in a weekend, and the parts that take longer are the parts worth getting right. Here is how to plan one for your block.
Start With the Spot, Not the Box
Books are the easy part. The location decides whether your library gets used or turns into a damp box nobody opens. Put it where people already walk, wait, or let their kids run ahead. Your own front yard is usually the simplest choice, because you can see it from a window and you control the ground it stands on.
A few things to look for:
- A spot on a daily walking route — school, park, bus stop, corner store
- Permission from whoever owns the land, in writing if it isn't yours
- Clear sightlines from your house or a neighbor's
- Enough shade that afternoon sun doesn't bake the books, but not so much brush that the box disappears
- Space for a stroller, wheelchair, or delivery cart to still pass on the sidewalk
- Ground you can dig in, away from sprinkler lines and the path a snowplow takes
Avoid the ditch at the edge of a parking lot, the narrow strip between a fence and the sidewalk, and any spot where the box would sit below the level of drifting snow.
Check the Rules Before You Dig
Rules differ from one town to the next, and from one block to the next.
Call your city or county planning or public works office and ask two questions: does a small book box on private property need a permit, and how far back from the sidewalk must it sit? Often, keeping the whole thing on private property and out of the public right-of-way avoids most permitting trouble. If you rent, get the landlord's okay in writing. If you live under an HOA, read the covenants or ask the board directly — some prohibit structures of any kind, others simply want a sketch of what you have in mind. Historic districts may have opinions about what can be seen from the street.
Before you sink a post, call for utility locates so you don't hit a line. And if property lines or easements are unclear, get a straight answer from the city before you start digging rather than after. A five-minute phone call beats an awkward conversation later.
Buy a Box or Build One
Both are fine, and both have trade-offs. Prebuilt boxes and kits come from local woodworkers, craft sellers, and hardware stores; you pay more, but you can have it in place by Sunday. Building costs less and gives you exactly the size you want — two or three sheets of exterior plywood or cedar, exterior screws, a decent latch, and a free Saturday. A neighbor with a table saw turns it into an afternoon project, and some blocks make a small party of it.
What actually matters in the box itself
- A roof with a real overhang that sheds water away from the door
- A latch that stays shut in wind but opens with one hand
- Clear acrylic or polycarbonate in the door, so people can see books before opening it
- Exterior-grade materials and rust-resistant hinges
- Drainage holes in the floor and a small gap at the bottom of the door
- A size that holds 20 to 40 books without becoming a dumping ground
Mount It So It Stays Put
A post in the ground is the most durable option. Dig below your local frost depth, put a few inches of gravel at the bottom for drainage, set a pressure-treated post, and brace it while the concrete cures. If digging isn't possible, bolting the box to a fence, porch rail, or exterior wall works too — with the owner's permission. Set the shelf at about chest height for adults, with the lower shelf reachable by a seven-year-old. Angle the roof slightly forward, and run a bead of exterior caulk along the seams. A small stone or gravel pad underneath keeps mud from splashing up the sides.
Stocking: Curated, Not Dumped
Start with 20 to 30 books. Mix board books and picture books with popular fiction, mysteries, cookbooks, gardening guides, large-print titles, and local history. Paperbacks travel fastest because they fit in a bag. A stamp or sticker inside the cover is worth adding if you'd like your own books to find their way home.
What doesn't work: textbooks, encyclopedias, water-damaged or musty books, outdated computer and travel guides, loose magazines, and anything left on your doorstep as a donation dump. The hardest part of stewardship is saying no to that last category. It's fine to remove books. Quietly, and without guilt.
A short sign does a lot of work: Take a book, leave a book. No card, no due date, no fines. Add your first name and a note that donations are welcome if you want the box to keep filling itself.
Keep It Running
Check the library in spring and fall. Tighten screws, touch up paint, sweep out moisture, clear snow away from the door in winter, and replace the sign when it fades. Look for the small failures early — a hinge pulling loose, a sill that no longer drains.
Then build in a little redundancy. Two or three neighbors who will text you if the box is leaning, empty, or overflowing make a huge difference, especially when you're away. Rotate the stock every few weeks. Pull the books that have been sitting untouched for months and give them a second chance somewhere else.
Start Small This Weekend
You don't need a perfect box or a full shelf. Pick the spot, ask permission, make the calls about permits, then measure and order or build. When the post is set and the paint is dry, invite two neighbors to help fill it on the same afternoon and let the first kid who stops take a book. That's the whole launch. The library will look better in a year than it does on day one, and it will belong to the block by then, not just to you.
Photo: Hande Yavuz / Pexels